
Smartibot Programming
Programming a robot from the browser
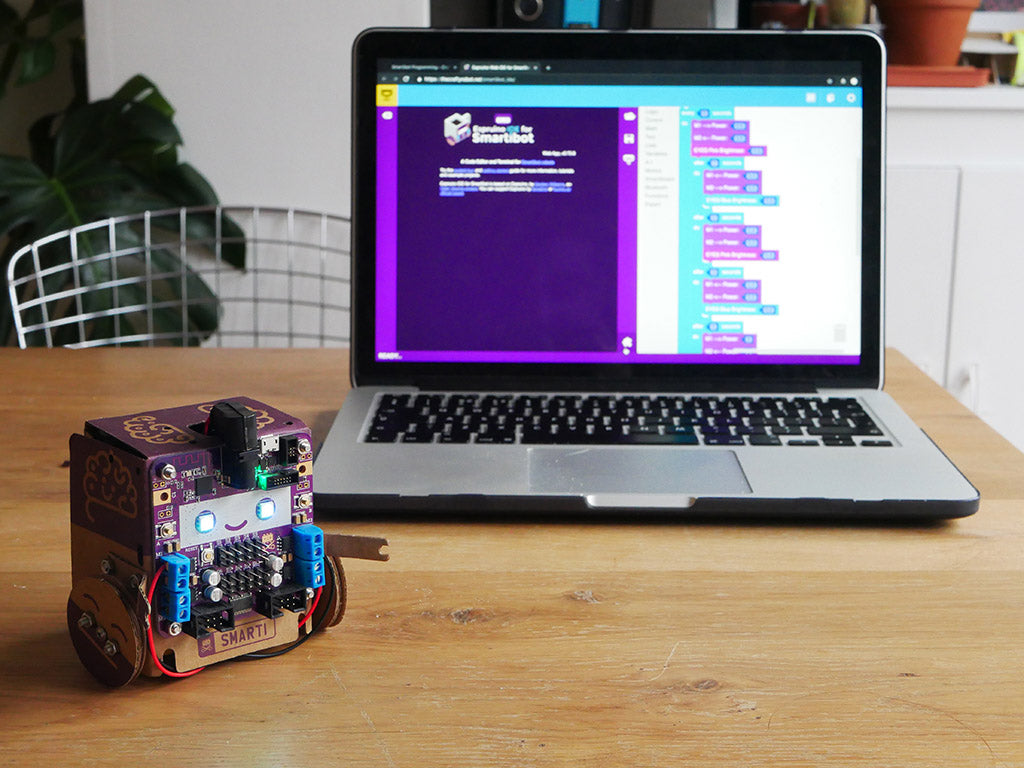
Smartibot is programmed using a platform called Espruino which was created by Gordon Williams. It offers two ways of programming your Smartibot; using written code in JavaScript or visually using a Scratch-like blocks editor. An Espruino configuration optimised for Smartibot is available here. Check out the Guided Tour to see how it works.
Espruino connects to Smartibot over Bluetooth and for this to work you need to be running it in Chrome on a Mac or Windows 10 laptop, or an Android device. You can also program your Smartibot over USB on other platforms by installing the Espruino Chrome extension.
Firmware Update
To get the best out of Espruino when programming your Smartibot it is best to update your Smartibot's firmware to the latest version. To do this:
- Download the NRF Toolbox app for iOS or Android
- Download the Smartibot Espruino Firmware
- Switch on your Smartibot
- Put your Smartibot into firmware update mode by holding down the 'A' button and, whist you are doing, that rebooting by either pressing and then releasing the 'RESET' button or switching the power off and then on again with the switch on the battery box. You can release the 'A' button a few seconds after it has powered back up.
- Open up the NRF Toolbox app
- Press the 'DFU' button
- Press 'Select File' and select the firmware file you had downloaded
- Press 'SELECT DEVICE' and select 'DFU Tag' (that's how your Smartibot appears when it is in firmware update mode, if it doesn't appear and it is still showing up in the Smartibot app as 'Espruino SMARTIBOT' repeat step 4.)
- Press 'Upload' - The firmware update should take about 2 minutes and the NRF Toolbox app will tell you when it is done
Programming your Robot with JavaScript
You can find reference JavaScript to use the functions on the Smartibot main circuit board and the two extension boards at http://www.espruino.com/Smartibot
Here are some tutorials for projects that involve programming your Smartibot with JavaScript:
Ghost with colour fading eyes (Basic Kit)
Programming your robot with Blocks
Clicking on the icon at the bottom centre with </> on it switches to the blocks editor. In the 'Smartibot' section you can find blocks to set the Motor outputs 'M1' to 'M4', Servo outputs 'S1' to 'S10', control the eye LEDs and read the two buttons.
Here are some tutorials for projects that involve programming your Smartibot with Blocks:
Simple programming with the A.I. and Blocks (Basic Kit)
Loading code onto your Robot
Once your code is written (or pasted into Espruino from somewhere else) it is time to connect to your Smartibot and load it on.
To connect click on the symbol that looks like plug and socket on a yellow background at the top left of the screen:

This should bring up a dialogue that asks you to select a port.
If you are using Espruino in the browser only Web Bluetooth will be available:
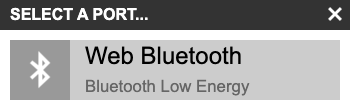
You should click on this and, select your Smartibot in the pop-up window and click the 'Pair' button (If your Smartibot doesn't appear in the list after a few seconds check that it is powered up and no longer connected to the app - exit the control pad or AI mode, or force-close the app to make sure of this):

If you are using the Chrome Extension various other ports should be available as well as WebBluetooth. If your Smartibot is plugged into your computer with a Micro USB Cable one of these ports should be a USB one. Clicking on this will connect directly to your Smartibot (no pairing step required):

Once connected to your Smartibot you can load on the code by clicking on the symbol in the middle of the screen that looks like a microchip with an arrow on it:

When the code has loaded the word 'Espruno' will appear on the left hand side of the screen in white outlines with some text beneath it and then a command prompt (a little flashing cursor). You can send your Smartobot instructions by typing here and pressing return.

If you want your code to stay on your Smartibot after it has been switched off or rebooted type:
save()
and then press return.
To remove any code you have loaded type:
reset()
and then press return and then type:
save()
and press return.
You can watch how to do this in this section of our Ghosts video:
Sharing and Discussion
If you have any questions or want to show off something you have made with your Smartibot or something you have programmed it to do please post in the Smartibot Subreddit.