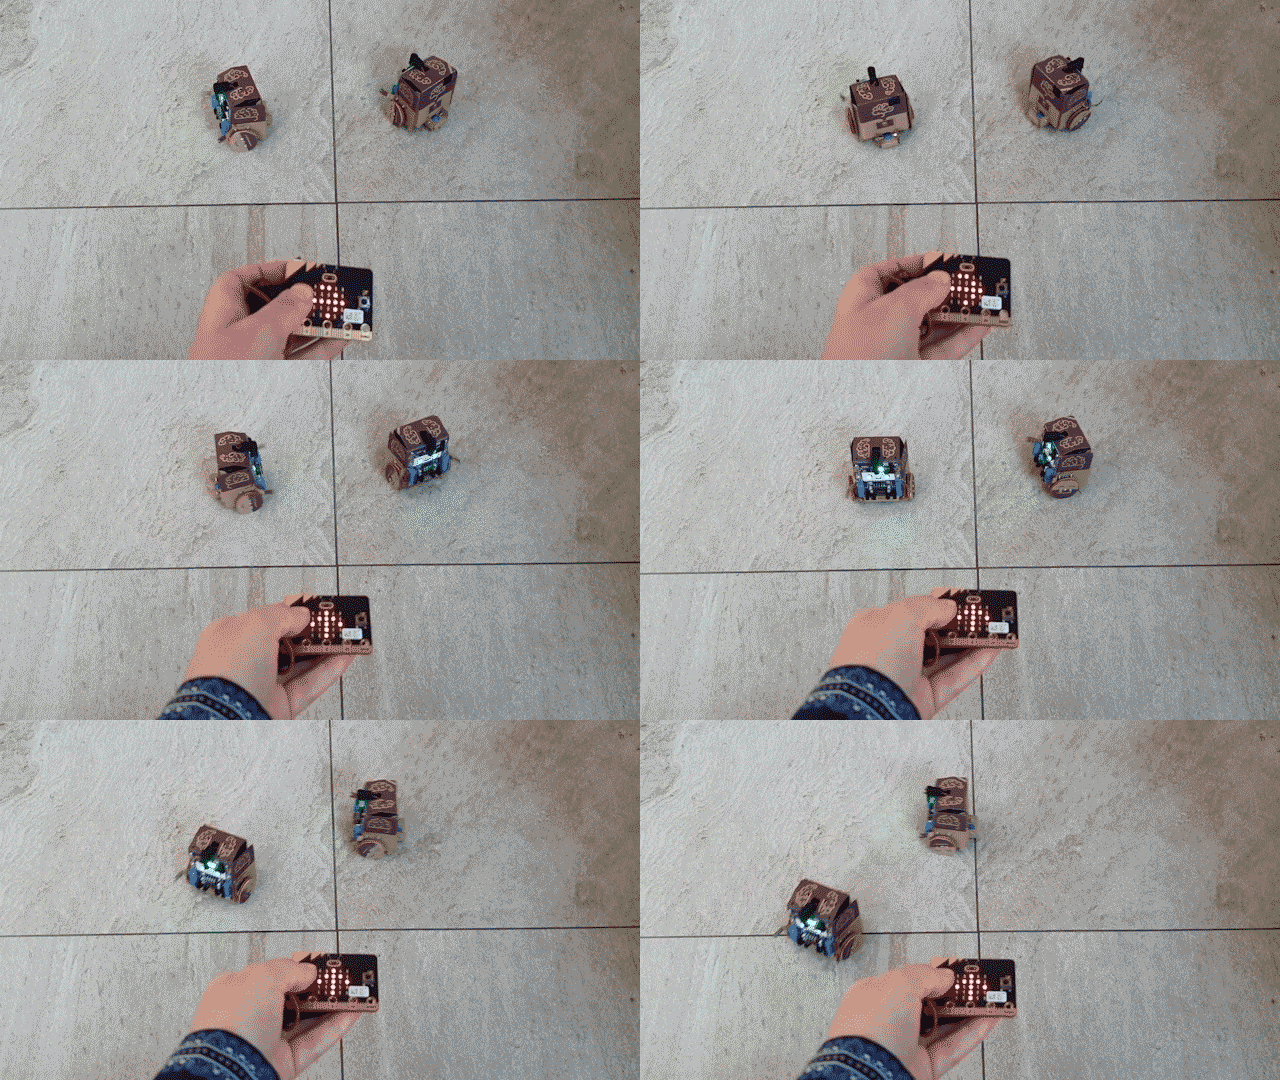
Here's how you can control your Smartibot robot creation with a BBC micro:bit!
The BBC microbit is a very easy to use micro-controller with an accelerometer, LED matrix, and bluetooth built in, which makes it an ideal radio controller. As Smartibot also works with bluetooth and is able to control lots of motors, it is perfect for building things to control. Just like Smartibot, the micro:bit can be programmed with JavaScript or code blocks.

For this tutorial, we will show you how you can use a micro:bit to control your Smartibot, instead of the Smartibot app on your smartphone. To do that, we will be using the compass on the micro:bit, which tells us which direction the board is pointing towards.
micro:bit + robots!
What you will need:
- A micro:bit
You might have one lying around already, but you can also get one from Kitronik, Pimoroni or Amazon.
- A Smartibot (or more than one)!
You can use any of your Smartibot creations but for this tutorial we are using the classic AI bot from the kits.
micro:bit code for controlling a robot
First step, go on the micro:bit makecode platform.
You can either start a + New Project and copy the code:

Or download the file from here.
micro:bit Code Breakdown
This code will allow the micro:bit to communicate with and Smartibot boards in range over bluetooth, and will tell the Smartibot to drive in the same direction as the micro:bit is tilted.
We are using the onboard accelerometer to determine which direction the micro:bit board is pointing towards then drawing the appropriate arrow on the little LED matrix on the front and sending a command to move in that direction to any Smartibots in range, whenever the A button is pressed. We send the stop command when the B button is pressed.
Rather than actually connecting to the Smartibot(s) over bluetooth we are putting the commands in the micro:bit's advertising packet, which means we could control a very large number of Smartibots if we wanted to, but also that there is longer delay between sending the command and the Smartibot responding (more latency) as we have to wait for for the Smartibot to scan for and receive the advertising packet.
Espruino code for control by micro:bit
Next up, we are going to upload the following code to the Smartibot board using the Espruino Web IDE. It is written in JavaScript:
E.on('init', function() {

var smarti = require("Smartibot");


// List of eddystone devices
var eddystone = {};
// List of votes

var count = 0;
var counting = false;

 function onTimeout(){
 smarti.setMotor(1,0);
 smarti.setMotor(2,0);
 }

// Start scanning for devices
NRF.setScan(function(dev) {
 if (dev.serviceData && dev.serviceData.feaa)
 eddystone[dev.id] = dev;
});

setInterval(function() {
 for (var id in eddystone) {
 var dev = eddystone[id];
 if (!dev.age) dev.age=0;
 dev.age++;
 if (dev.age < 40) {
 // if the URL contains a hash, the command is what comes after
 var url = E.toString(dev.serviceData.feaa).substr(3);
 var hash = url.lastIndexOf("#");
 if (hash) {
 var vote = url.substr(hash+1);
 console.log(vote);
 if (vote == "F"){
 smarti.setLEDs([0,0,50],[0,0,50]);
 smarti.setMotor(1,0.7);
 smarti.setMotor(2,-0.7);
 counting = false;
 }
 if (vote == "R"){
 smarti.setLEDs([50,0,50],[60,0,50]);
 smarti.setMotor(1,-0.6);
 smarti.setMotor(2,-0.6);
 counting = true;


 }
 if (vote == "L"){
 smarti.setLEDs([50,0,50],[50,0,50]);
 smarti.setMotor(1,0.6);
 smarti.setMotor(2,0.6);
 counting = true;
 }
 else if (vote == "B"){
 smarti.setLEDs([50,0,0],[50,0,0]);
 smarti.setMotor(1,-0.7);
 smarti.setMotor(2,0.7);
 counting = false;
 }
 else if (vote == "S"){
 smarti.setLEDs([0,50,0],[0,50,0]);
 smarti.setMotor(1,0);
 smarti.setMotor(2,0);
 }
 }
 }
 }
 if (counting == true){
 count = count + 1;
 }
 if (count > 2){
 counting = false;
 count = 0;
 smarti.setMotor(1,0);
 smarti.setMotor(2,0);
 }
}, 100);
});
Espruino Code Breakdown
This code looks a bit more complex than the block code we used earlier, but it is simple to understand. It tells the Smartibot to "listen" to the micro:bit and which direction it is pointing towards ("F" stands for forwards, "R" for right etc. and the same "F" and "R" can be found in the micro:bit block code). The code then sets the speed of each motor on the Smartibot to go in the same direction.


Loading the code onto your Smartibot
You can use this post on how to load code onto the Smartibot, but here is a quick overview again:
To connect the Smartibot to Espruino, click on the symbol that looks like a plug and socket on a yellow background at the top left of the screen:

This should bring up a dialogue that asks you to select a port.
If you are using Espruino in the browser, only Web Bluetooth will be available:

You should click on this and select your Smartibot in the pop-up window. Then, click the Pair button (if your Smartibot doesn't appear in the list after a few seconds, check that it is powered up and no longer connected to the app - exit the control pad or AI mode, or force-close the app to make sure of this):

If you are using the Chrome Extension, various other ports should be available as well as Web Bluetooth. If your Smartibot is plugged into your computer with a Micro USB Cable, then one of these ports should be a USB one. Clicking on this will connect directly to your Smartibot (no pairing step required):

Once connected to your Smartibot you can load on the code by clicking on the symbol in the middle of the screen that looks like a microchip with an arrow on it:

When the code has loaded the word 'Espruino' will appear on the left hand side of the screen in white outlines with some text beneath it and then a command prompt (a little flashing cursor). You can send your Smartibot instructions by typing here and pressing return.

Also, we want the code to stay on the Smartibot after it has been switched off or rebooted type, so after the code is uploaded type:
save()
and then press return.
Get driving
Lastly, power up your Smartibot and micro:bit and get driving!

